
For deterministic dependency installation
What is Corepack
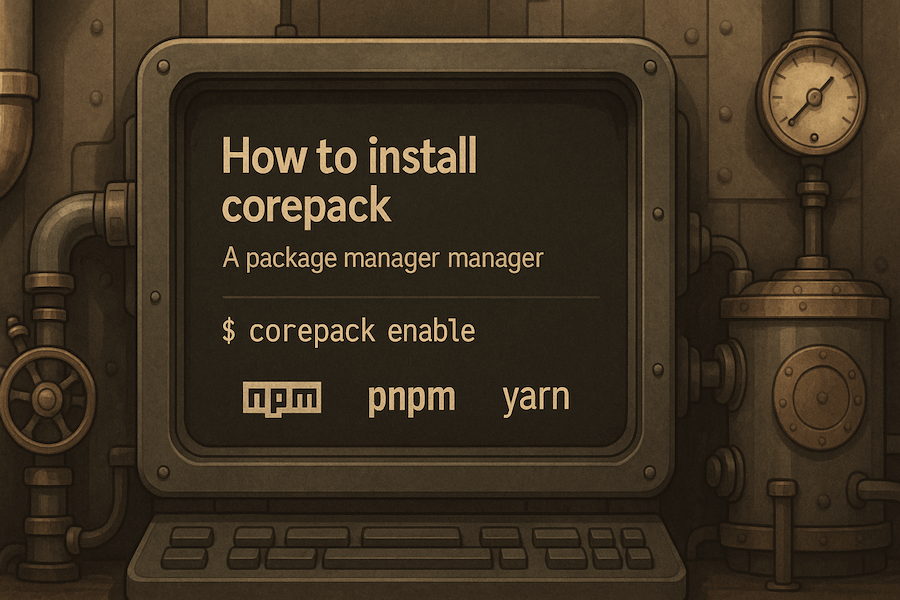
Section titled: What is CorepackCorepack is a package manager, manager.
- The purpose of a package manager is to ensure that everyone installs exactly the same version of a projects dependencies.
- But that is not guaranteed if different versions of the same package manager are in use
- Differing versions can also cause lock file versioning issues (e.g. the format of the entire lock file changing back and forth without anyone really noticing)
- A package manager manager then ensures that everyone installs exactly the same version of that package manager, ensuring that your project installs are always deterministic.
Similar to how nvm/fnm lets you have multiple versions of Node.js installed simultaneously, Corepack lets you have multiple versions of npm/pnpm/yarn installed.
Step 1: First uninstall existing package managers
Section titled: Step 1: First uninstall existing package managersFirst uninstall your global yarn and pnpm binaries (just leave npm).
How you do this will differ depending on how you installed them in the first place. These two commands are a good place to start:
npm uninstall -g yarn pnpmbrew uninstall yarnNow check if there are still other versions installed:
which pnpm # we want: "pnpm not found"which yarn # we want: "yarn not found"If which outputs “not found”, then you’re good to go. But if it outputs a file path, then that’s the binary you still need to remove.
If you don’t know how to uninstall it based on the path, then you can always just rm -rf the directory that which output.
Step 2: Now install the latest version of Corepack
Section titled: Step 2: Now install the latest version of Corepacknpm i -g corepack@latestcorepack enablecorepack enable npmNPM is not enabled unless specifically requested1. Corepack was bundled with Node.js from version 14.19 to 242, but it never hurts to have the latest Corepack3.
Now go into any project and try to use the appropriate package manager, you’ll see something like the following:
pnpm install! Corepack is about to download https://registry.npmjs.org/pnpm/-/pnpm-9.15.2.tgz? Do you want to continue? [Y/n]Hit Y or enter and Corepack will automatically download and start using the specified version of that package manager.
If the project doesn’t specify a package manager version (boo 👎) then it will default to a known good version; but continue reading the next section to see how to fix that.
Step 3: Use Corepack in your project
Section titled: Step 3: Use Corepack in your projectTo specify a particular package manager version in your project, you’ll want to run the corepack use command:
corepack use pnpm # Use the latest version of pnpmcorepack use yarn@1 # Use the latest version of yarn v1corepack use npm@11.6.0 # Use the exact version 11.6.0 of npmThis will add a packageManager field at the bottom of the package.json:
"packageManager": "pnpm@10.15.0+sha512.486ebc259d3e999a4e8691ce03b5cac4a71cbeca39372a9b762cb500cfdf0873e2cb16abe3d951b1ee2cf012503f027b98b6584e4df22524e0c7450d9ec7aa7b"This accomplishes two things for all other developers with Corepack enabled:
- Running
pnpm installwill automatically download and use pnpm version 10.15.0, ensuring deterministic project installs - Trying to use any other package manager to install dependencies will result in an error:
This project is configured to use pnpm because /my-project/package.json has a "packageManager" field
If another developer does not have Corepack enabled, this will not help them at all, so you should send them this post.
Step 4: Double check that everything is working
Section titled: Step 4: Double check that everything is workingcd into a one of your projects that has corepack configured (i.e. packageManager field exists in package.json), and run pnpm --version (or npm or yarn).
Double check that it matches the version specified in the package.json packageManager field:
➜  pnpm --version10.14.0
➜  cat package.json | grep packageManager"packageManager": "pnpm@10.14.0+sha512.ad27a79641b49c3e481a16a805baa71817a04bbe06a38d17e60e2eaee83f6a146c6a688125f5792e48dd5ba30e7da52a5cda4c3992b9ccf333f9ce223af84748"
If it doesn’t match, take a look at troubleshooting #1.
Troubleshooting
Section titled: Troubleshooting1. Corepack is enabled but package manager version is still wrong
Section titled: 1. Corepack is enabled but package manager version is still wrongThis means that you didn’t uninstall all existing package managers before enabling corepack. First disable Corepack, then go through Step 1, then you can re-enable Corepack.
➜ corepack disable# ...# Go through step 1 above 👆# ...➜ corepack enable2. Unsupported engine
Section titled: 2. Unsupported engine➜ npm i -g corepack@latest
npm WARN EBADENGINE Unsupported engine {npm WARN EBADENGINE package: 'corepack@0.34.0',npm WARN EBADENGINE required: { node: '^20.10.0 || ^22.11.0 || >=24.0.0' }, # <-- latetst corepack requires at least node 20npm WARN EBADENGINE current: { node: 'v16.20.2', npm: '8.19.4' } # <-- current node version is 16npm WARN EBADENGINE }This indicates that the latest corepack version that you’re trying to install requires a different version of Node.js than you currently have active. Try switching to a newer node version.
If your project requires this older node version, so you can’t switch, you can try:
- Just using the version of corepack that is bundled with your node version (no install necessary, just
corepack enable) - Installing older corepack versions one at a time until you find one that works.
If you have to be on Node.js 16 for some reason, take at troubleshooting #3 👇.
3. Node version 16 - URL.canParse is not a function
Section titled: 3. Node version 16 - URL.canParse is not a function➜ corepack install
Type Error: URL.canParse is not a functionNode 16 comes preinstalled with one of corepack 0.10, 0.11, or 0.12. All three of those versions of corepack predate the corepack use command, so they operate significantly different than the modern version.
But using the latest of Corepack version relies on the URL.canParse() method which was introduced in Node.js version 19.9.0 and backported 18.17.0.
This creates a catch-22 where you can’t use the Node 16 (no corepack use) or the Node 24 (url parse error) version of Corepack to get a packageManager field added to your package.json.
I’ve found two solutions to this problem:
- Manually specify the
packageManagerfield, without the optional hash."packageManager": "yarn@1.22.22" - Use corepack v0.20.0;
npm i -g corepack@0.20.0. I’ve found that this version specifically straddles the line where it doesn’t useURL.canParse()but does have thecorepack usecommand.
Footnotes
Section titled: Footnotes-
By default
corepack enabledoes not currently add shims fornpm. I imagine this is probably to try and avoid confusion with npm and corepack being distributed together. However, I would argue that it’s actually much more confusing for corepack users thatpackageManageris ignored only for NPM.Especially with corepack being excluded from Node 25+, I hope
npmis “auto-shimmed” in the future. For now though,corepack enable npmwill add the shims and all is right with the world. ↩ -
Corepack was bundled with Node.js from version 14.19 to 24, which they frustratingly decided to stop doing because of low adoption, unnecessary bundling, and maintenance concerns. ↩
-
Updating to the latest version of corepack is primarily to update its list of Known Good Releases. But older versions can also have different Node.js requirements and even different apis. Hopefully this becomes less prominent in the future. ↩