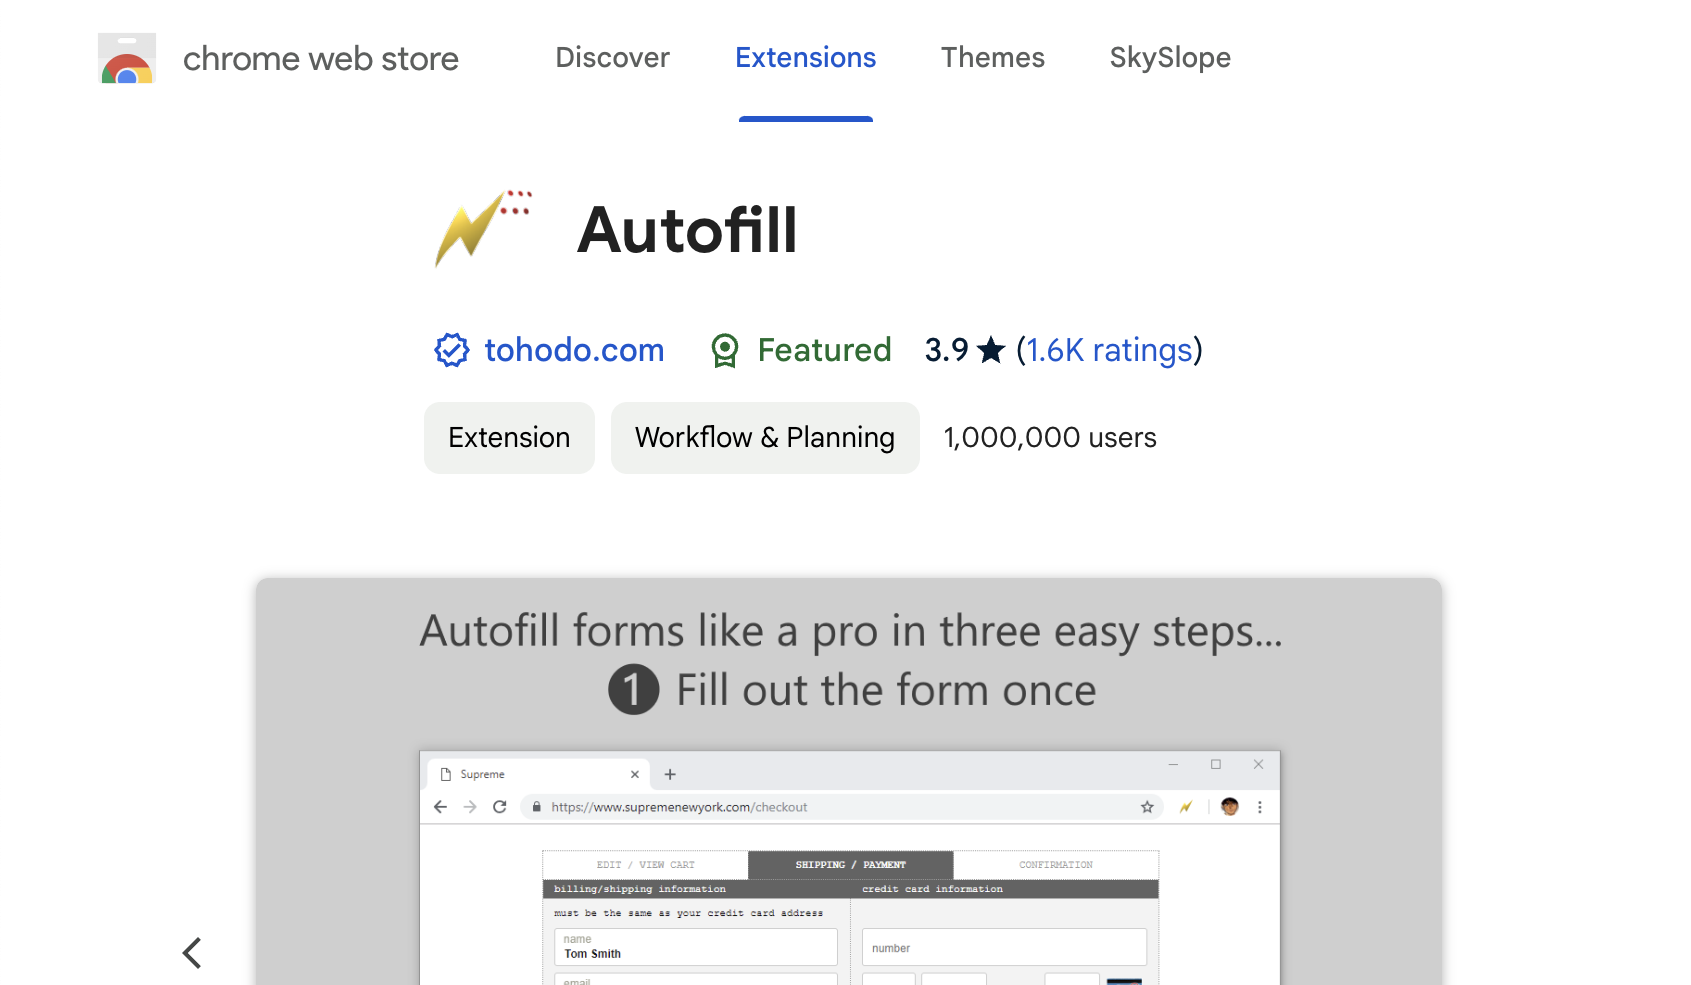
With a Chrome extension called Autofill

No one has to fill out a form more than the web developer who creates it. Filling out the same form time and time again has got to be one of the least enjoyable tasks imaginable. And when you’re rushing through test cases before a release, the last thing that you want be doing is typing the same fake data into that form again.
I had been searching for a convenient way solve this problem for quite awhile. Frustratingly, there don’t seem to be many good solutions out there. Most of the extensions or applications that can auto-fill forms are password managers, which usually only fill out a few common fields related to a person’s identity; first name, last name, email, etc.
Introducing the Chrome extension: Autofill
How it works
Section titled: How it works- Fill out the form in question
- Generate Autofill fields based on the form
- Next time you visit the form, Autofill will fill it out for you
- Note: There is no button to click to make Autofill fill out the form. It just does it automatically, which confused me when I was first trying to use it.
Generating Autofill fields
Section titled: Generating Autofill fieldsIf you click on the little lightning bolt chrome extension icon, a toolbar appears at the top of the page.
- Expand Generate Rules
- Click the Profile dropdown, choose New, and enter Test as the name.
- Click on the Generate Autofill fields button
- It should say Done! when it’s finished
Sample Form to try it out
Section titled: Sample Form to try it outLet’s give it a try! Fill out this form and follow 👆 the steps above 👆
Now refresh this page, and you should see all the values you entered still in the form as if you never left.
Modify the Autofill data
Section titled: Modify the Autofill dataRight click on the lightning bolt Chrome extension icon ⚡️ and choose Options.
This opens up the Autofill Options page for the extension, where you can modify all of the data that Autofill has generated for you.

There are tabs at the top of the page, but the only one important for now is the Form Fields (default) tab.
The dropdown in the lower left corner is your active profile, which should currently be Test. Next to that dropdown is the Site url that applies to this entire profile. There is also a Site entry for each form field, but I would recommend sticking with the profile level Site because it’s just a lot easier to manage.
Both Site textboxes, in addition to the field Name column can accept regular expressions. I think that the regex Autofill generates for the Name field are a bit unnecessarily specific with the ^ and $ characters, but most of the time that doesn’t cause me any issues.
The Mode column allows you to choose how Autofill will respect existing data in the fields. It default to Overwrite, but I prefer Safe so that it doesn’t overwrite information that the site may have already populated for whatever reason.
The little - button to the right of Mode will remove that row. The > button to the right of that allows you to move form fields between different profiles. The + button at the bottom-left of the page allows you to add new form fields to that profile. Don’t forget that you have to Save the profile after making any changes in order for them to take effect.
